Installing Feren OS to an empty hard drive
Hint
Before you start this guide, you’ll want to boot into the Feren OS USB or DVD you flashed earlier. For guidance on booting into your USB or DVD follow this guide and then come back to this guide once you’ve booted in.
Opening the installer
To start installing Feren OS you will want to run the installer. The installer is placed in the following locations:
- The Install Feren OS shortcut placed on the desktop
- The Install Now button in Welcome Screen
Installing Feren OS (Feren OS and Feren OS Classic 64-Bit)
Once you have the installer opened up you should see a screen similar to the one shown in the below image:
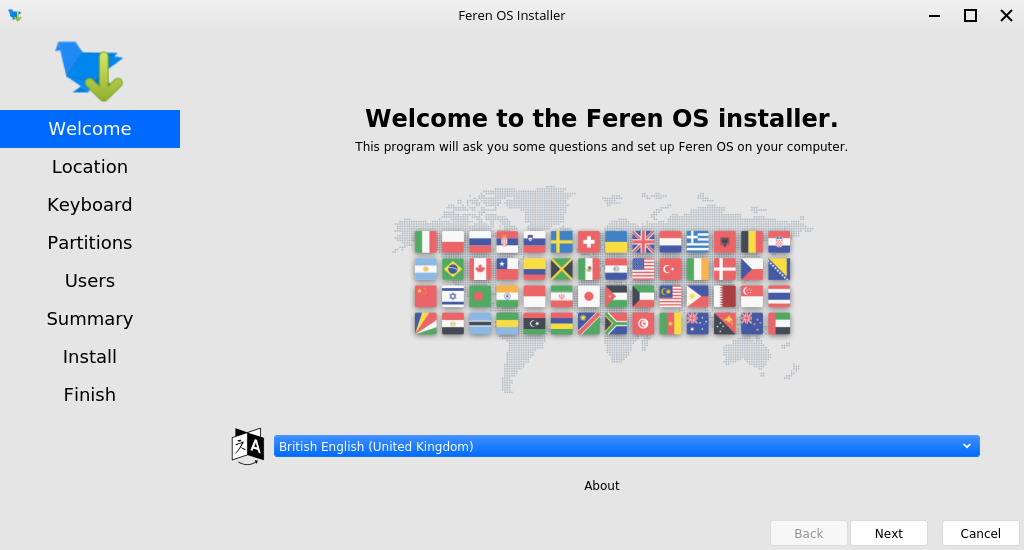
Feren OS’s installer
Now that you are in the installer, select your language using the dropdown menu at the bottom of the window and then press Next.
You should now see a location select screen. From here either click where you are on the world map or use the dropdown menus below the map to select your region and zone.
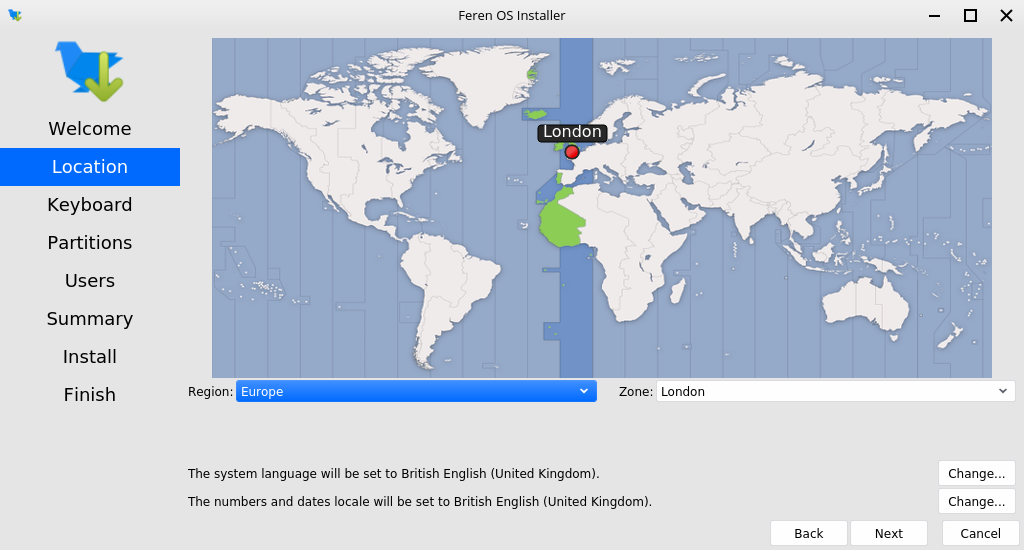
Once you’ve set your location click Next again.
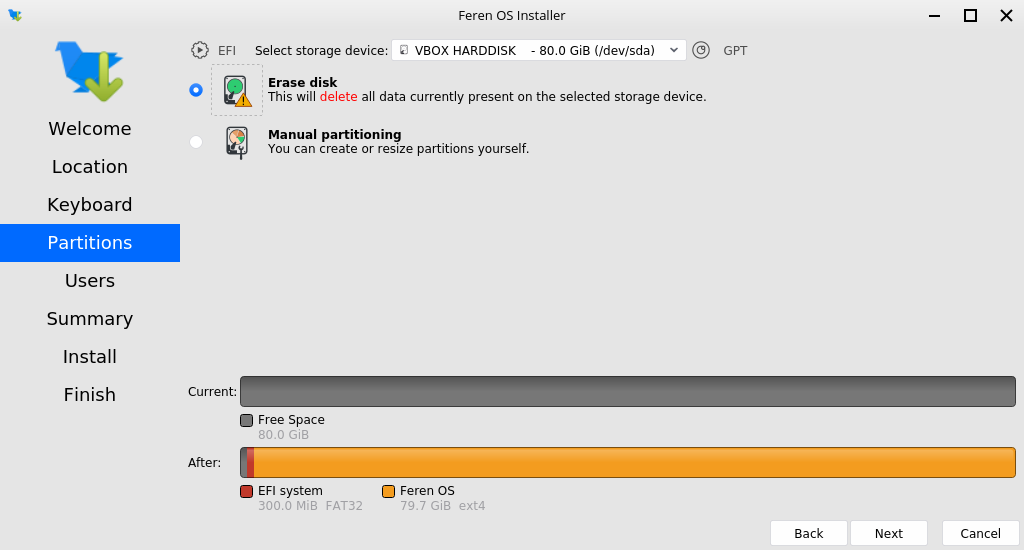
Now you’ll have the option to either erase your empty disk or use partition Feren OS manually. Select Erase disk and then click Next.
Warning
Be sure to check the dropdown menu at the top of this screen to make sure it has selected the correct disk to install Feren OS onto. Better safe than sorry.
You’ll now be taken to a page that summarises what will be done during installation. This will allow you to look over what you have chosen for your new Feren OS installation before installation begins.
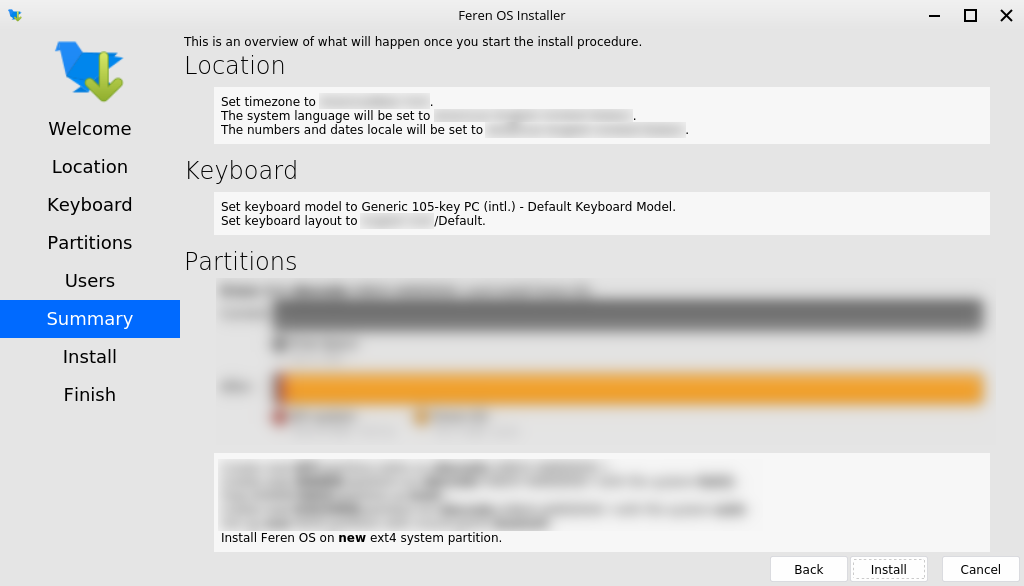
Once you’re sure you’ve got everything correct, click Install and then Install now on the final confirmation dialog.
Warning
Once you have hit Install now there is no going back to change the installation settings. Make sure you’ve got everything just the way you want it before you confirm beginning the installation.
Feren OS will now be installed. Have a cup of coffee or something as Feren OS will take a little while to install onto your machine.
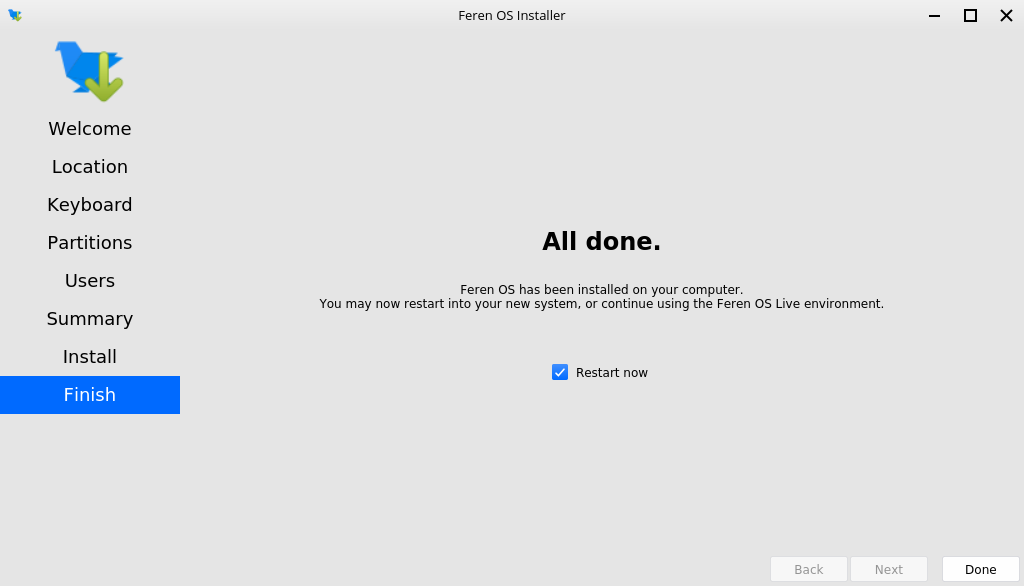
Once Feren OS has finished installing, it’ll take you to a screen saying “All Done”. From here you can choose whether you want to immediately reboot into your new Feren OS installation when you click Done or not.

Congrats, you have installed Feren OS! When rebooting eject your USB or DVD and press Enter on your keyboard when Feren OS prompts you to remove your installation medium, then press ENTER.
On the first boot into Feren OS, you will be greeted with just a “Set up Feren OS” program on screen. Select your language using the dropdown menu at the bottom of the window and then press Next to begin the set up process.

You should now see a location select screen. From here either click where you are on the world map or use the dropdown menus below the map to select your region and zone. This will be used to set the timezone, currency, and so on on your Feren OS installation.

Next you will see a diagram of a keyboard at the top of the window. Below that is a keyboard model setting and a keyboard layout list. Select a keyboard model if required (not usually required) and then select your keyboard layout using the list of layouts in the bottom two boxes.
Warning
Make sure to set the correct keyboard layout for your machine and just to be sure type using the textbox at the bottom to test if your choice of keyboard layout matches with your keyboard keys.
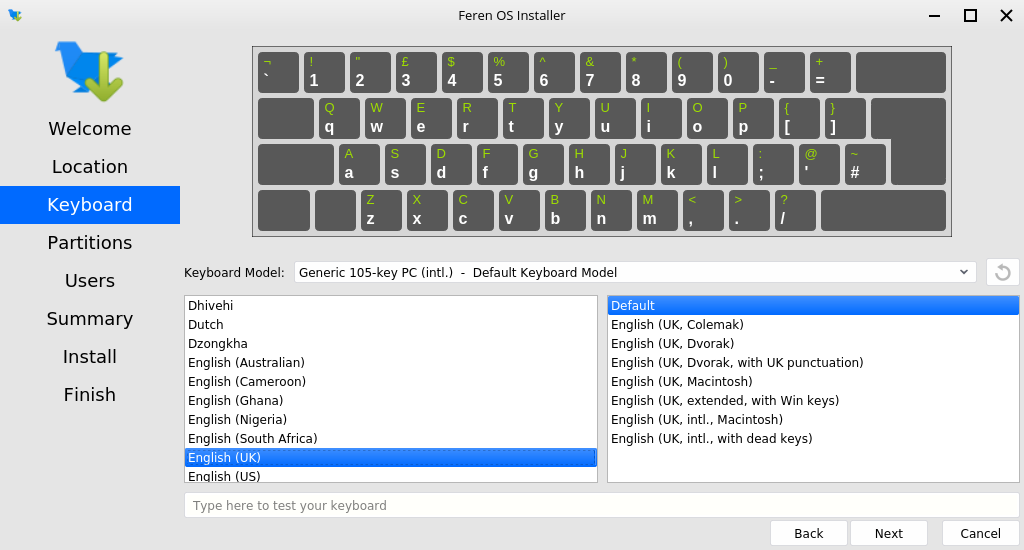
Once you’ve set your keyboard layout, click Next once more.
You’ll now be taken to a page where you can create a new user for your new Feren OS installation. Type your desired full name, your desired username, your desired computer name and the password you want for the first user account on your new Feren OS installation.
Hint
The username can only contain lowercase letters and numbers. The full name however is way more flexible.
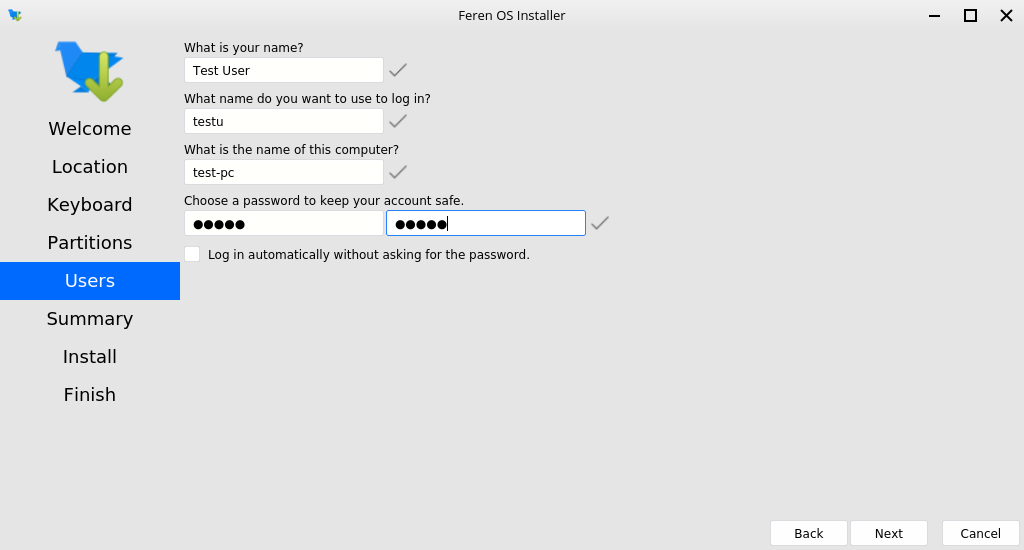
There will also be an optional checkbox below the password textboxes saying Log in automatically without asking for the password. If you want Feren OS to log in automatically to your machine on boot then tick this checkbox.
Warning
Enabling this option causes a security risk for your data on that user as anyone can then boot into your machine and immediately have access to your personal files and other data.
Once you’ve done this, press Set Up.
Feren OS will now do some final preparations before you can use it.
Once Feren OS has done setting itself up, it’ll take you to a screen saying “All Done”. From here click Done to continue to your all-new Feren OS installation.
Installing Feren OS (Feren OS Classic 32-Bit)
Feren OS Classic 32-Bit has a different installer as the installer used in other ISOs does not support Feren OS Classic 32-Bit currently. As such, the steps are slightly different.
Once you have the installer opened up you should see a screen similar to the one shown in the below image:
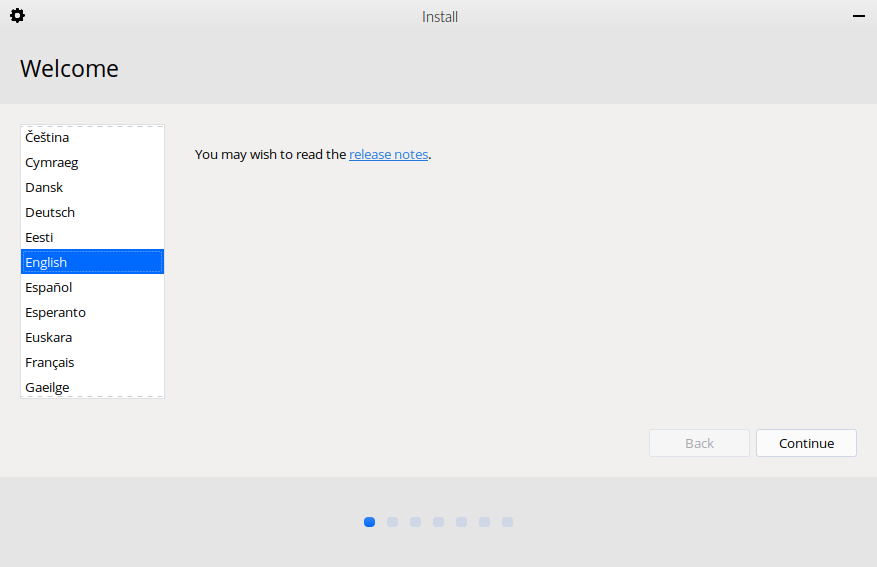
Feren OS Classic 32-Bit’s installer
Now that you are in the installer, select your language using the list of languages at the left of the window and then press Continue.
You’ll now be taken to a screen to choose your keyboard layout. You can either click the Detect Keyboard Layout button at the bottom or you can manually select your keyboard layout from the two boxes at the top.
Warning
Make sure to set the correct keyboard layout for your machine and just to be sure type using the textbox at the bottom to test if your choice of keyboard layout matches with your keyboard keys.
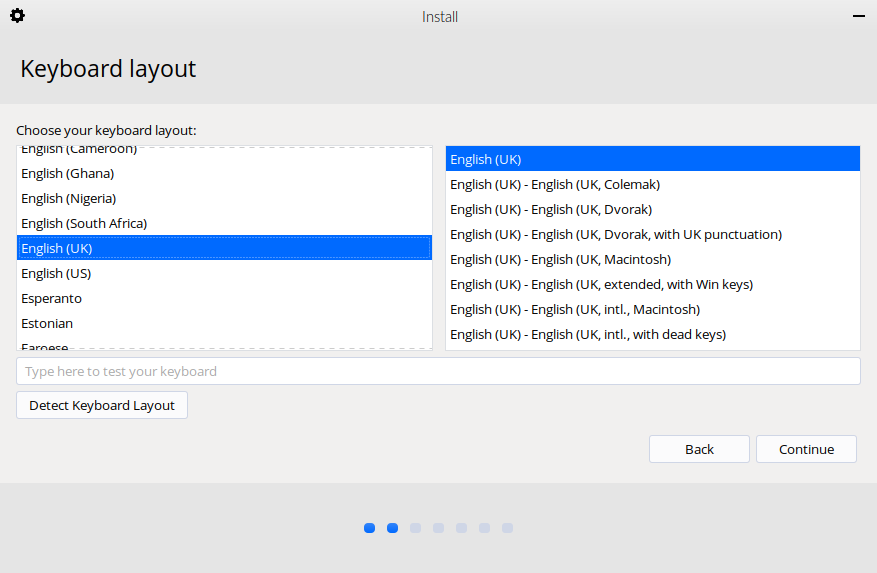
Once you’ve done that, click Continue.
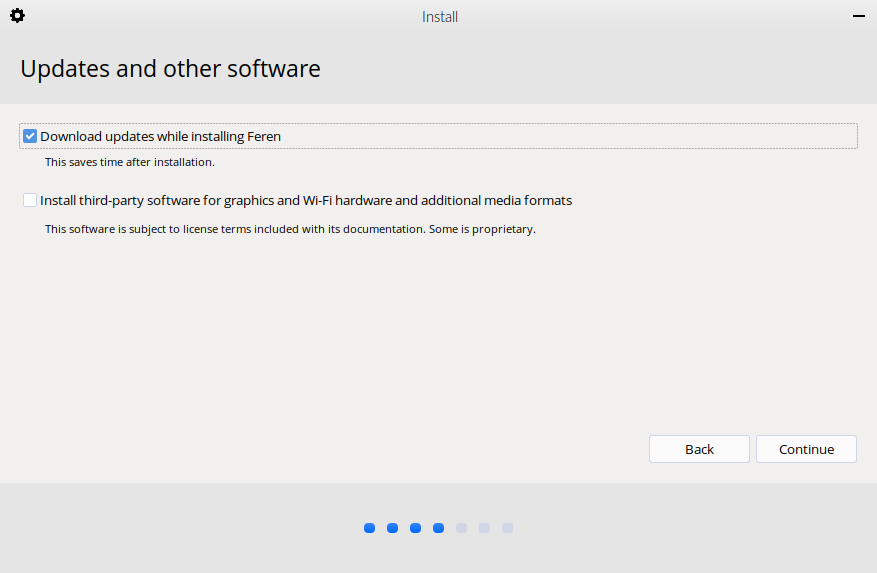
You will now be taken to a screen where you can choose to either Download updates while installing Feren OS, Install third-party software for graphics and Wi-Fi hardware and additional media formats or both. Once you’ve ticked the checkboxes you want to tick, click Continue.
You will now be taken to a screen where you can select whether you want to Erase disk and install Feren OS or do Something else to manually partition Feren OS yourself. Select Erase disk and install Feren and click Install Now.
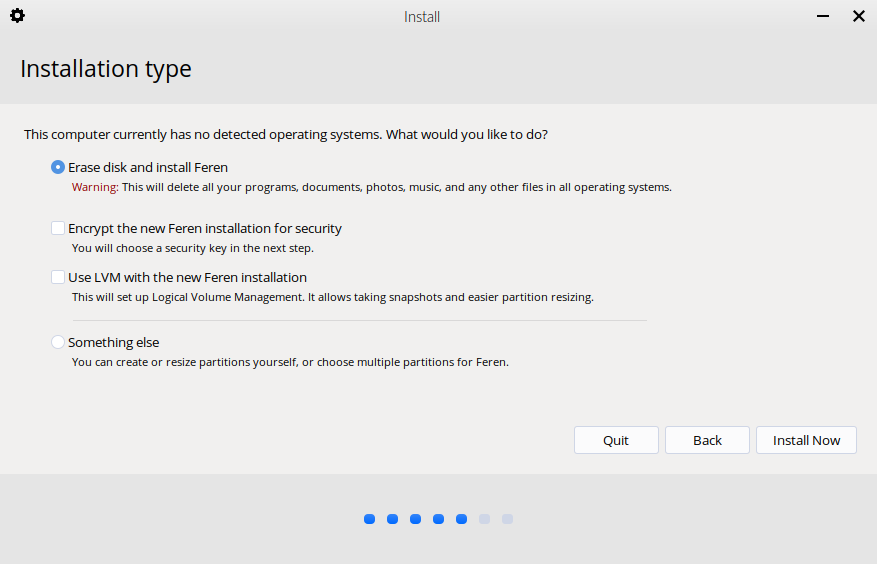
You will now get a final summary dialog explaining what is going to happen to your disk. When you are ready, click Continue.
Warning
Once you have hit Continue there is no going back to change the installation settings. Make sure you’ve got everything just the way you want it before you confirm beginning the installation.
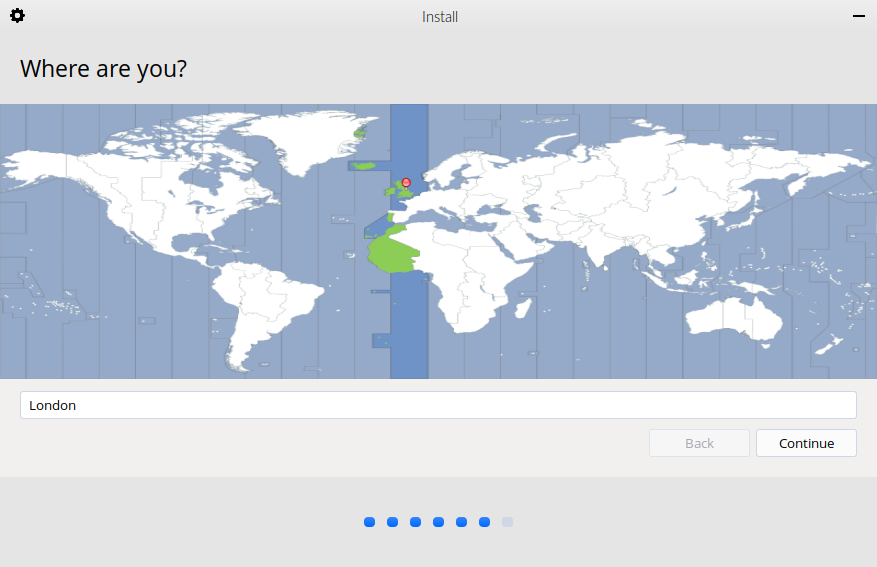
You will now be taken to a screen where you can select where you are on the world map. Either click where you are on the world map or type in the textbox directly below the world map to select a timezone and then click Continue.
You will then be taken to a screen where you can configure your user account for your new Feren OS installation. Fill out each textbox with what you want and then optionally select Log in automatically if you want Feren OS to log in immediately to your user account automatically when booting up.
Hint
The username can only contain lowercase letters and numbers.
Warning
Selecting Log in automatically causes a security risk for your data on that user as anyone can then boot into your machine and immediately have access to your personal files and other data.

When you’re done, click Continue one last time.
Feren OS will now be installed. Have a cup of coffee or something as Feren OS will take a little while to install onto your machine.
Once Feren OS has finished installing, the installer will close and a dialog will appear telling you that installation has finished. From here you can click either Continue Testing to not restart immediately into your Feren OS installation or click Restart Now to restart immediately into your Feren OS installation.

Congrats, you have installed Feren OS! When rebooting eject your USB or DVD and press Enter on your keyboard when Feren OS prompts you to remove your installation medium, then press ENTER.